If you’re new here, welcome! I’m participating In the One Room Challenge with hundreds of other designers and DIYers in a supportive and collaborative project that challenges participants to refresh one room on a deadline. There are some amazing transformations by the 20 featured designers and 600+ guest participants which I’d highly recommend checking out. You can also find my previous posts on the Little Boys’ Bathroom That Could here: Week 1 | Week 2 | Week 3 | Week 4
For the past two weeks, I’ve been working on myself as a mother, partner, daughter, friend, professional and even as a small-potatoes DIY blogger. Writing about house projects has felt a bit frivolous when so many bigger things are happening in the world. I’ve been staring at a blank page at a loss for words of what to say in this space. I acknowledge the awkwardness that I have as I fumble through how to write about creating a faux concrete vanity top when examining my own prejudices and questioning and dismantling the privileged systems from which I have benefitted greatly feel so much bigger.
In my last ORC update, I talked about my amateur woodworking status: that I was good enough to get by, but by no means a master, but constantly learning and doing. That’s how it is for many of us DIYers and perhaps these past two weeks have been some of the most important DIY work I’ve done… on myself. When it comes to addressing my own privilege and being an active antiracist ally I am by no means a master. It’s going to be a life-long journey of learning (or unlearning) and doing. Over the past couple weeks, I’ve spent time reading, listening, and reflecting. It’s just a beginning and there’s much more to do. And just as it is in DIY work, it’s a matter of learning, doing, learning more, doing more, and sometimes redoing.
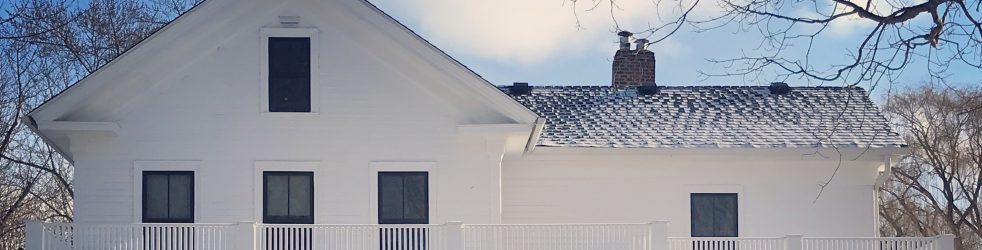
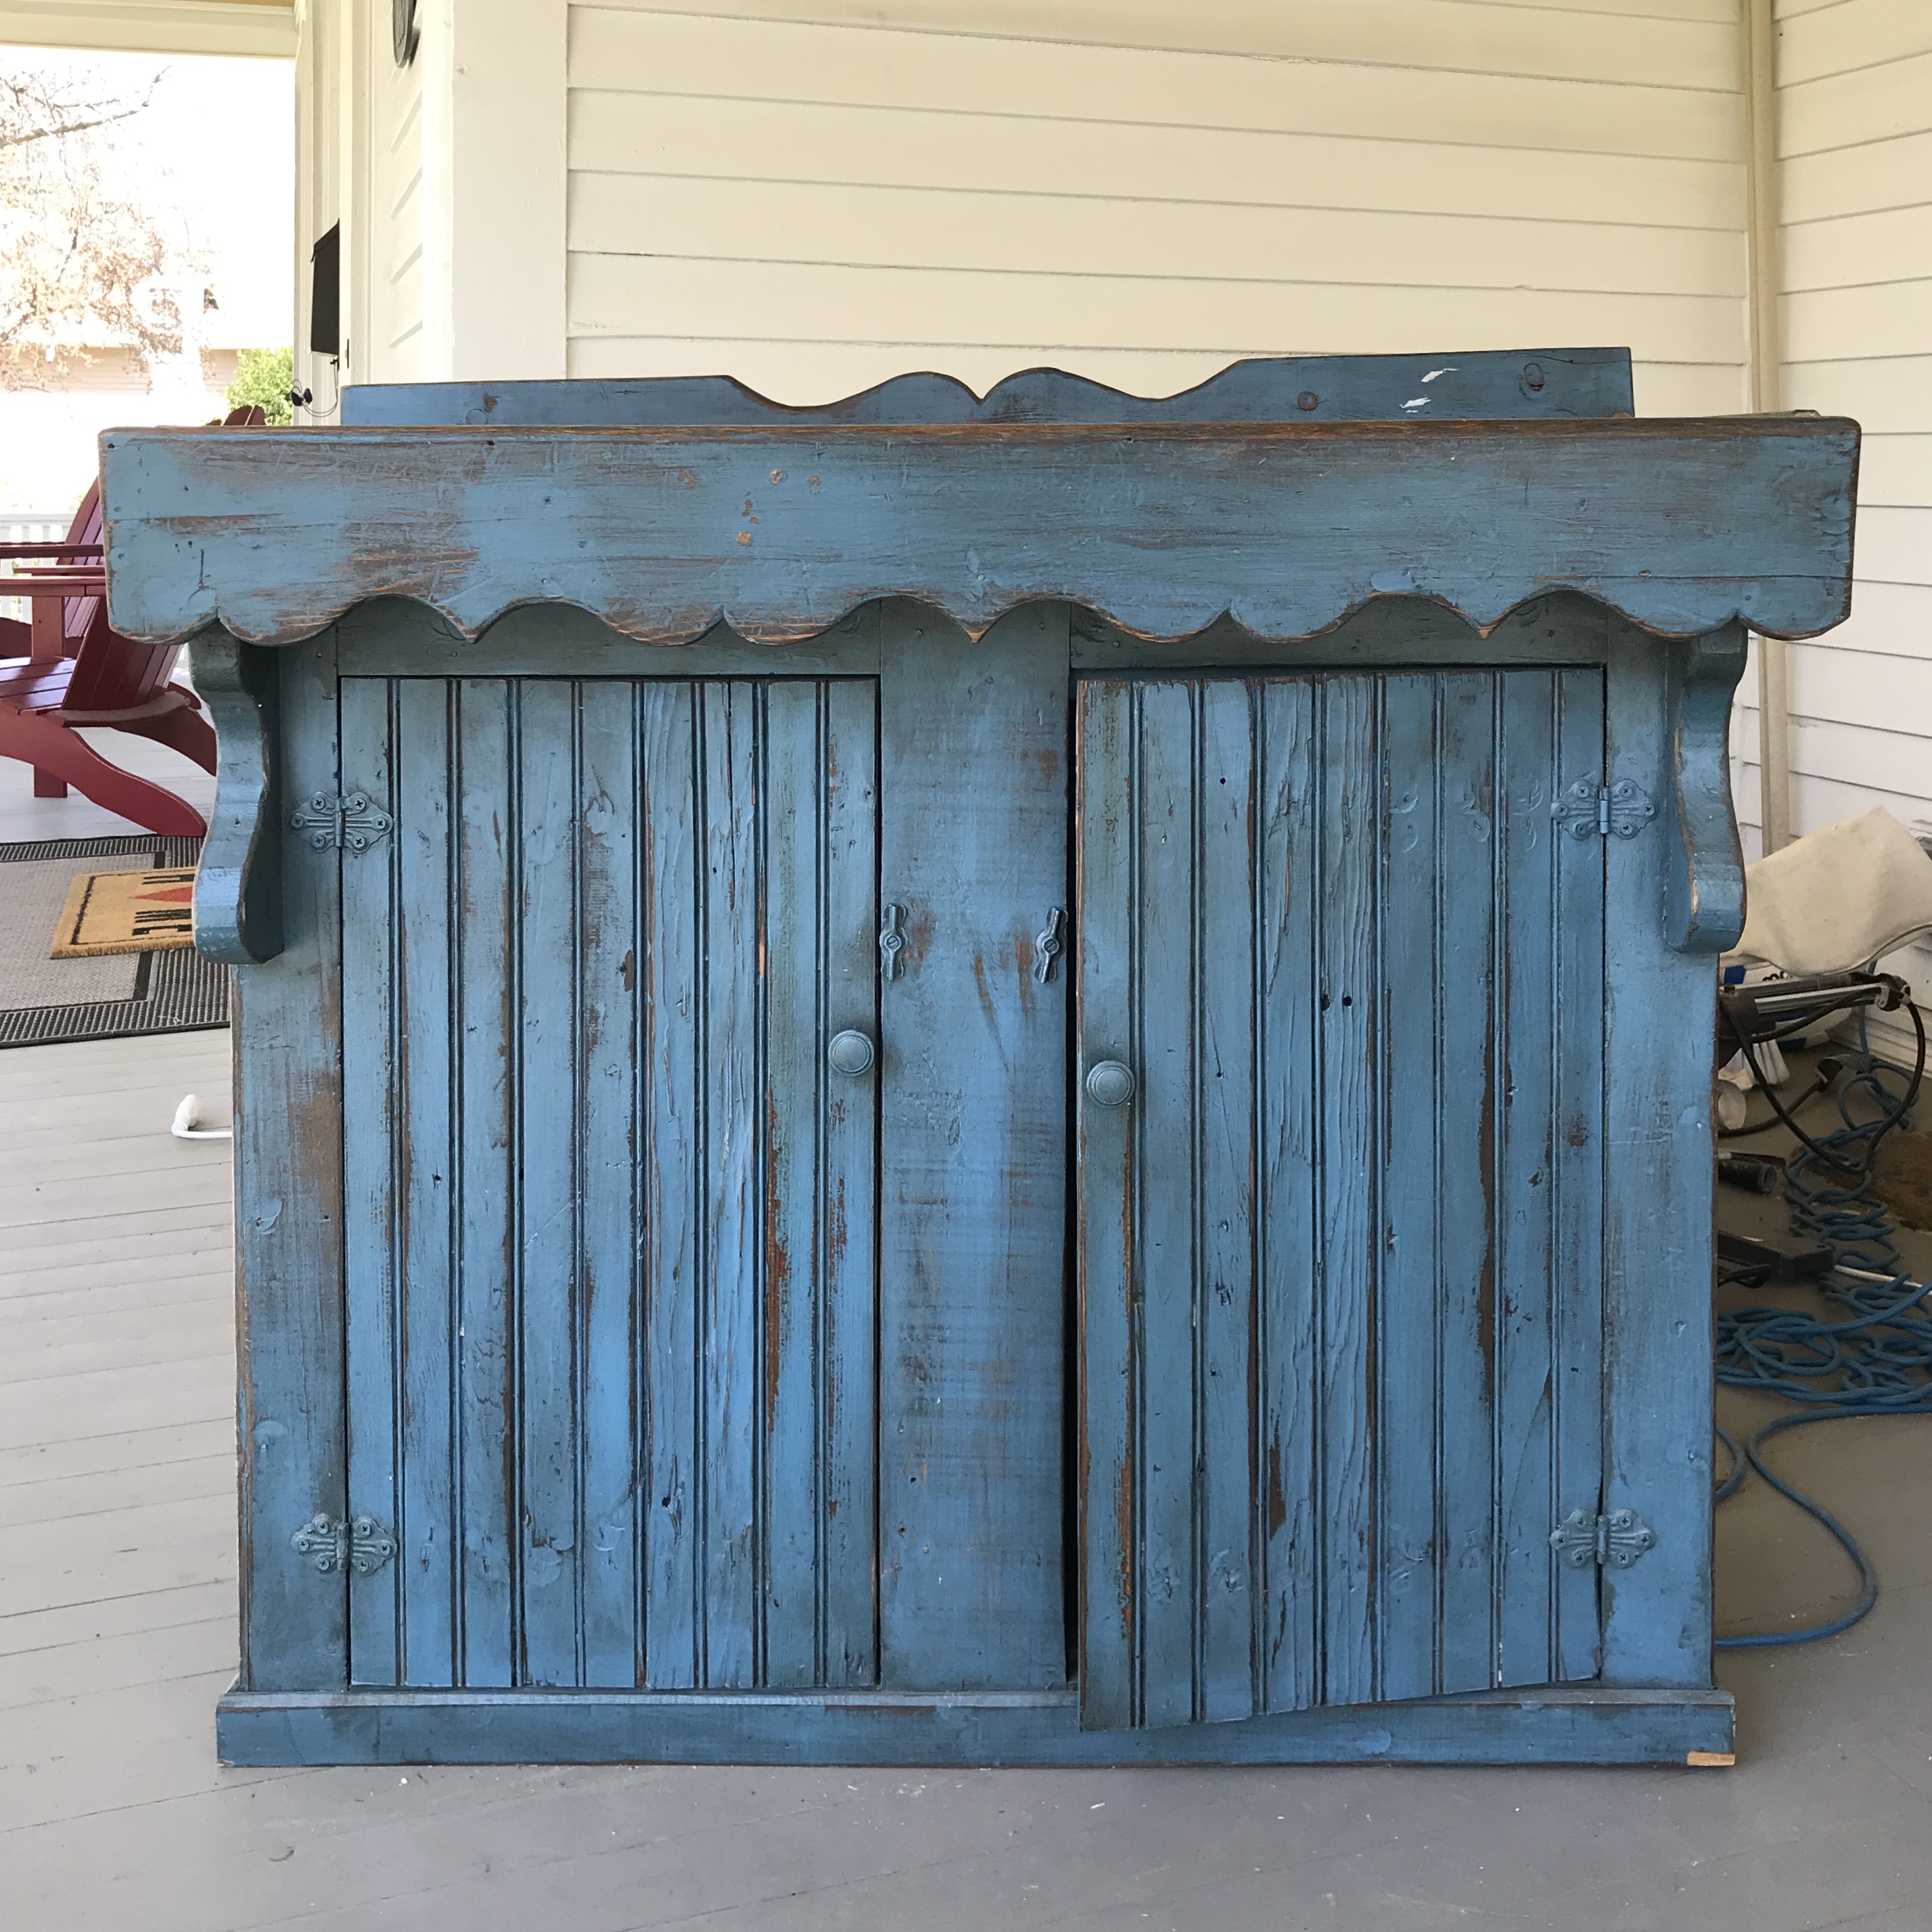
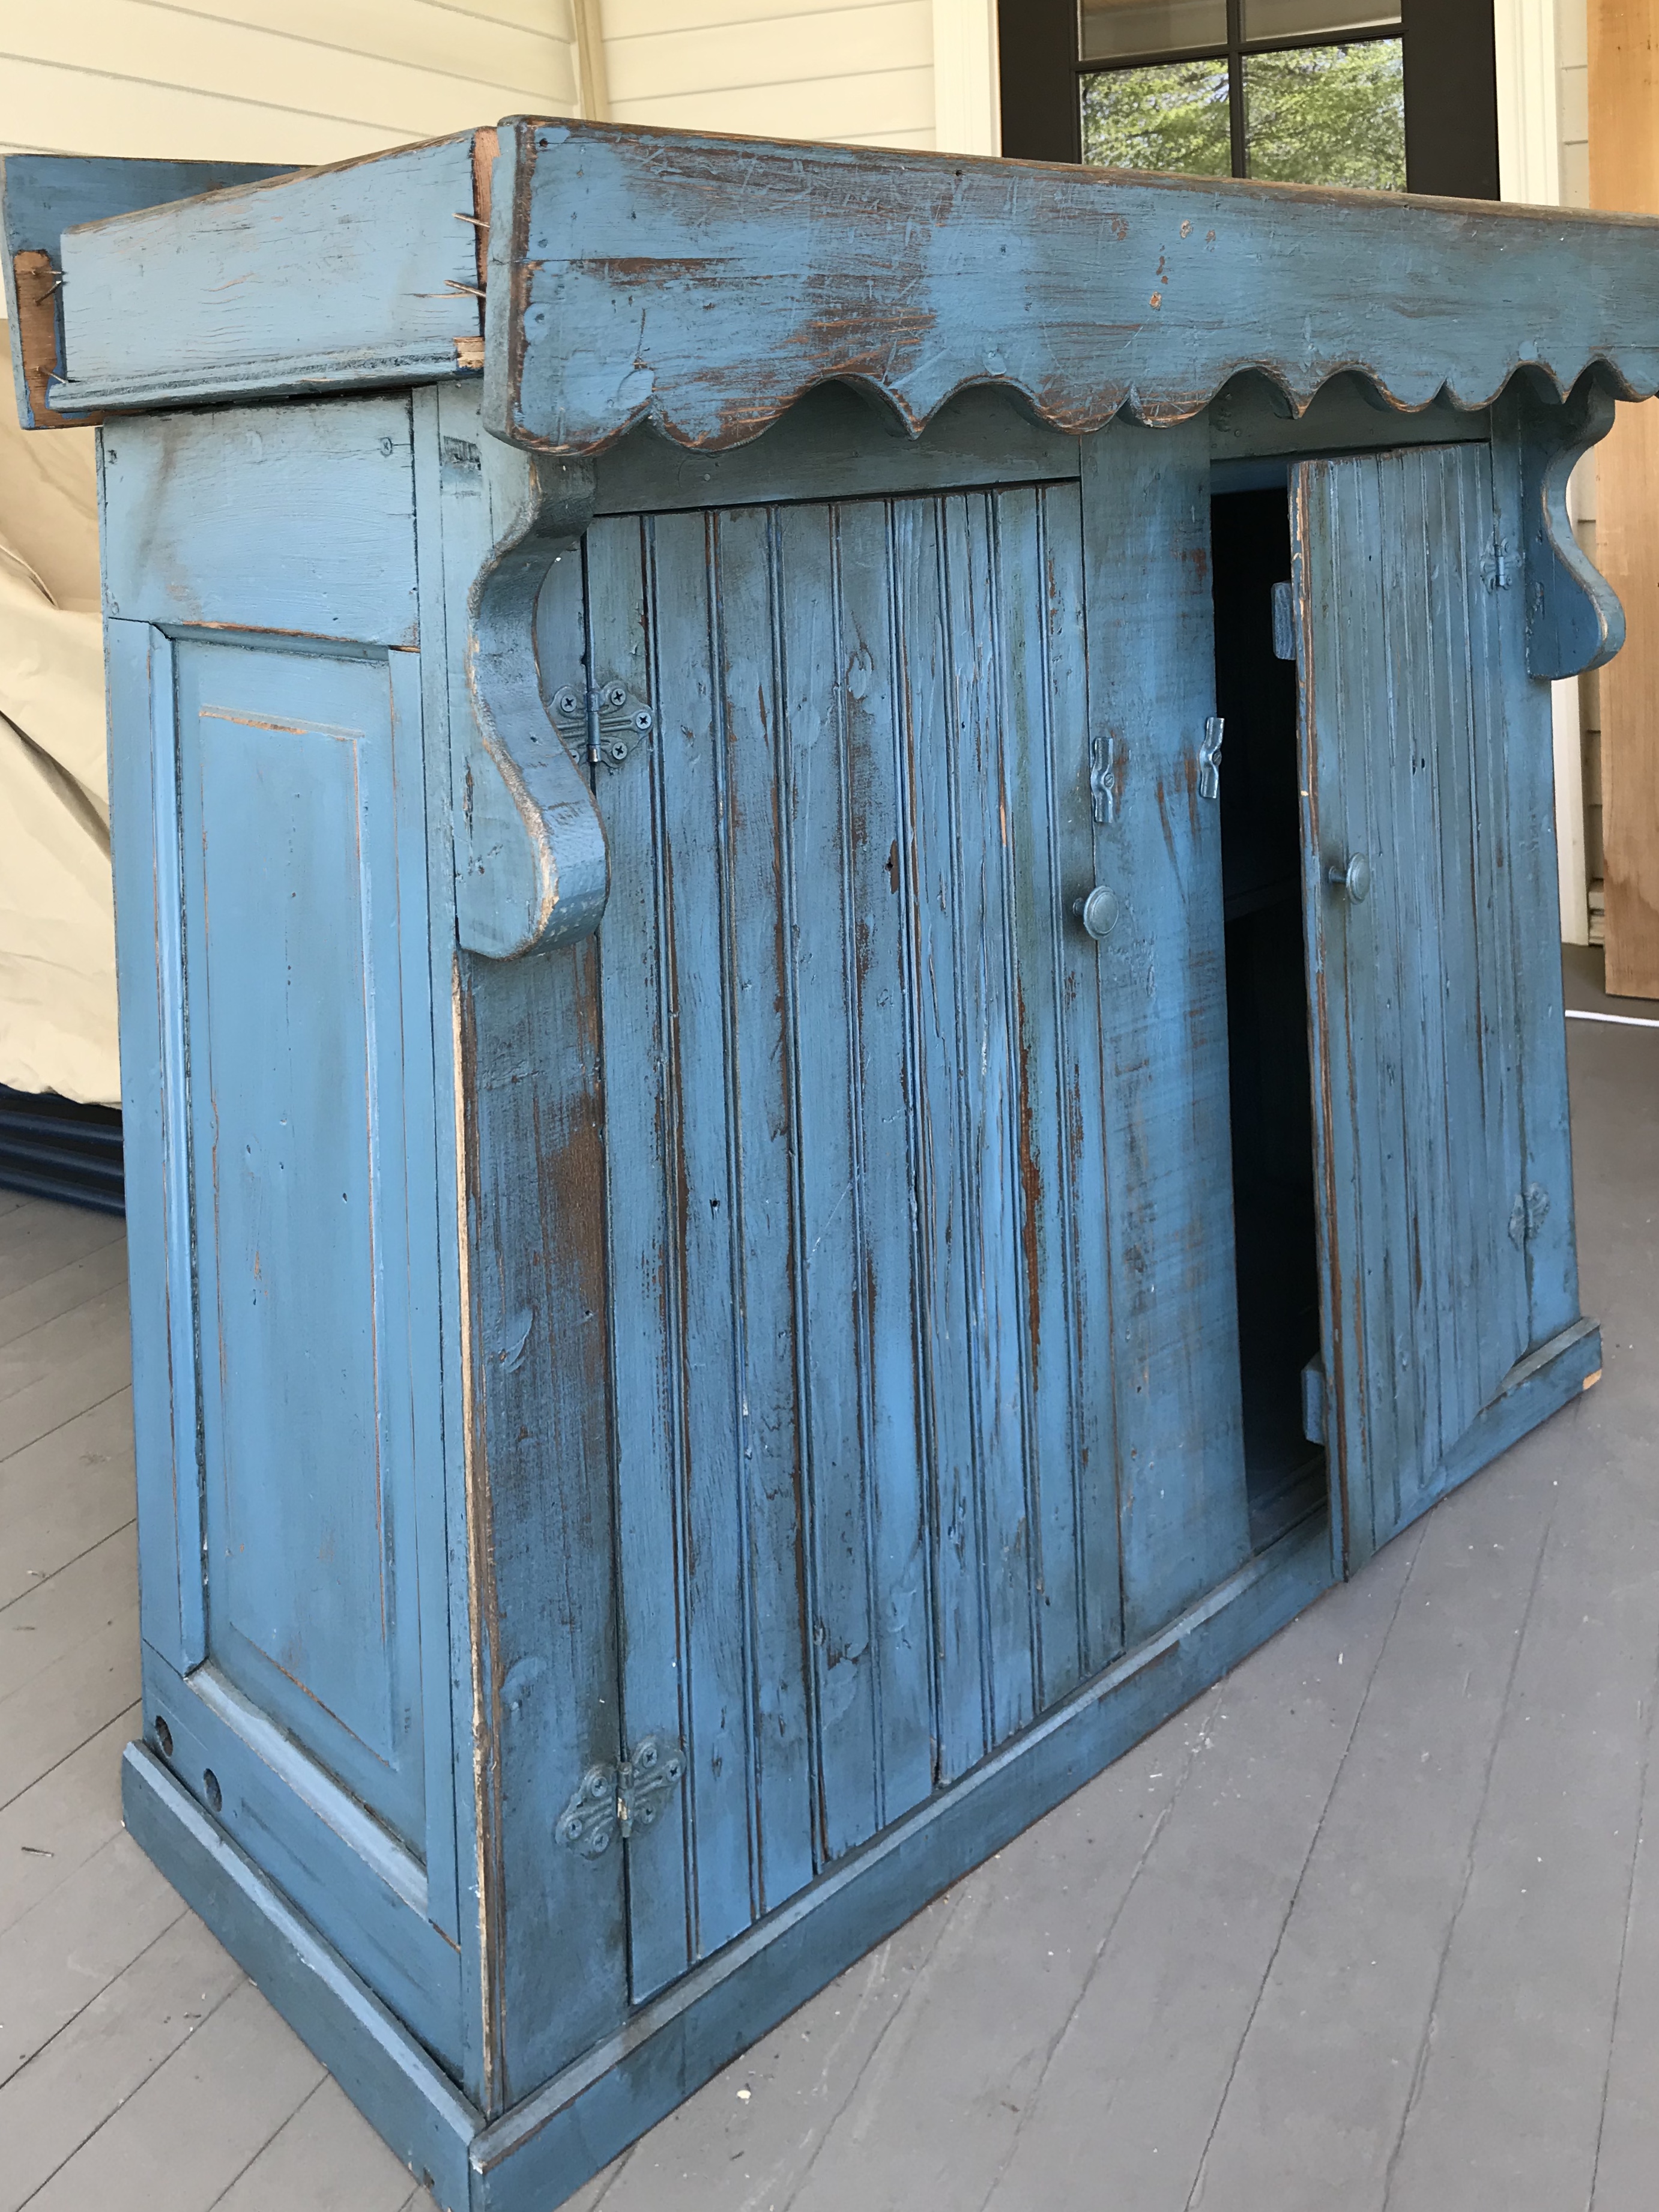
As I’ve been working on myself, work on the boys’ bathroom has also continued. We finally tackled the project I’ve been anticipating (and quietly worrying about) the most: customizing an “antique” dry sink into a vanity. We found the dry sink at an antique mall before we even had the bathroom roughed in and loved it for the color and the dimensions. The dimensions because we needed something very specific: no bigger than 42” x 20” with the ability to route the plumbing through the side of the vanity base. And the color, blue, is something around which we’ve designed the whole bathroom, from our accent tiles on the floor to the whale mural on the wall.
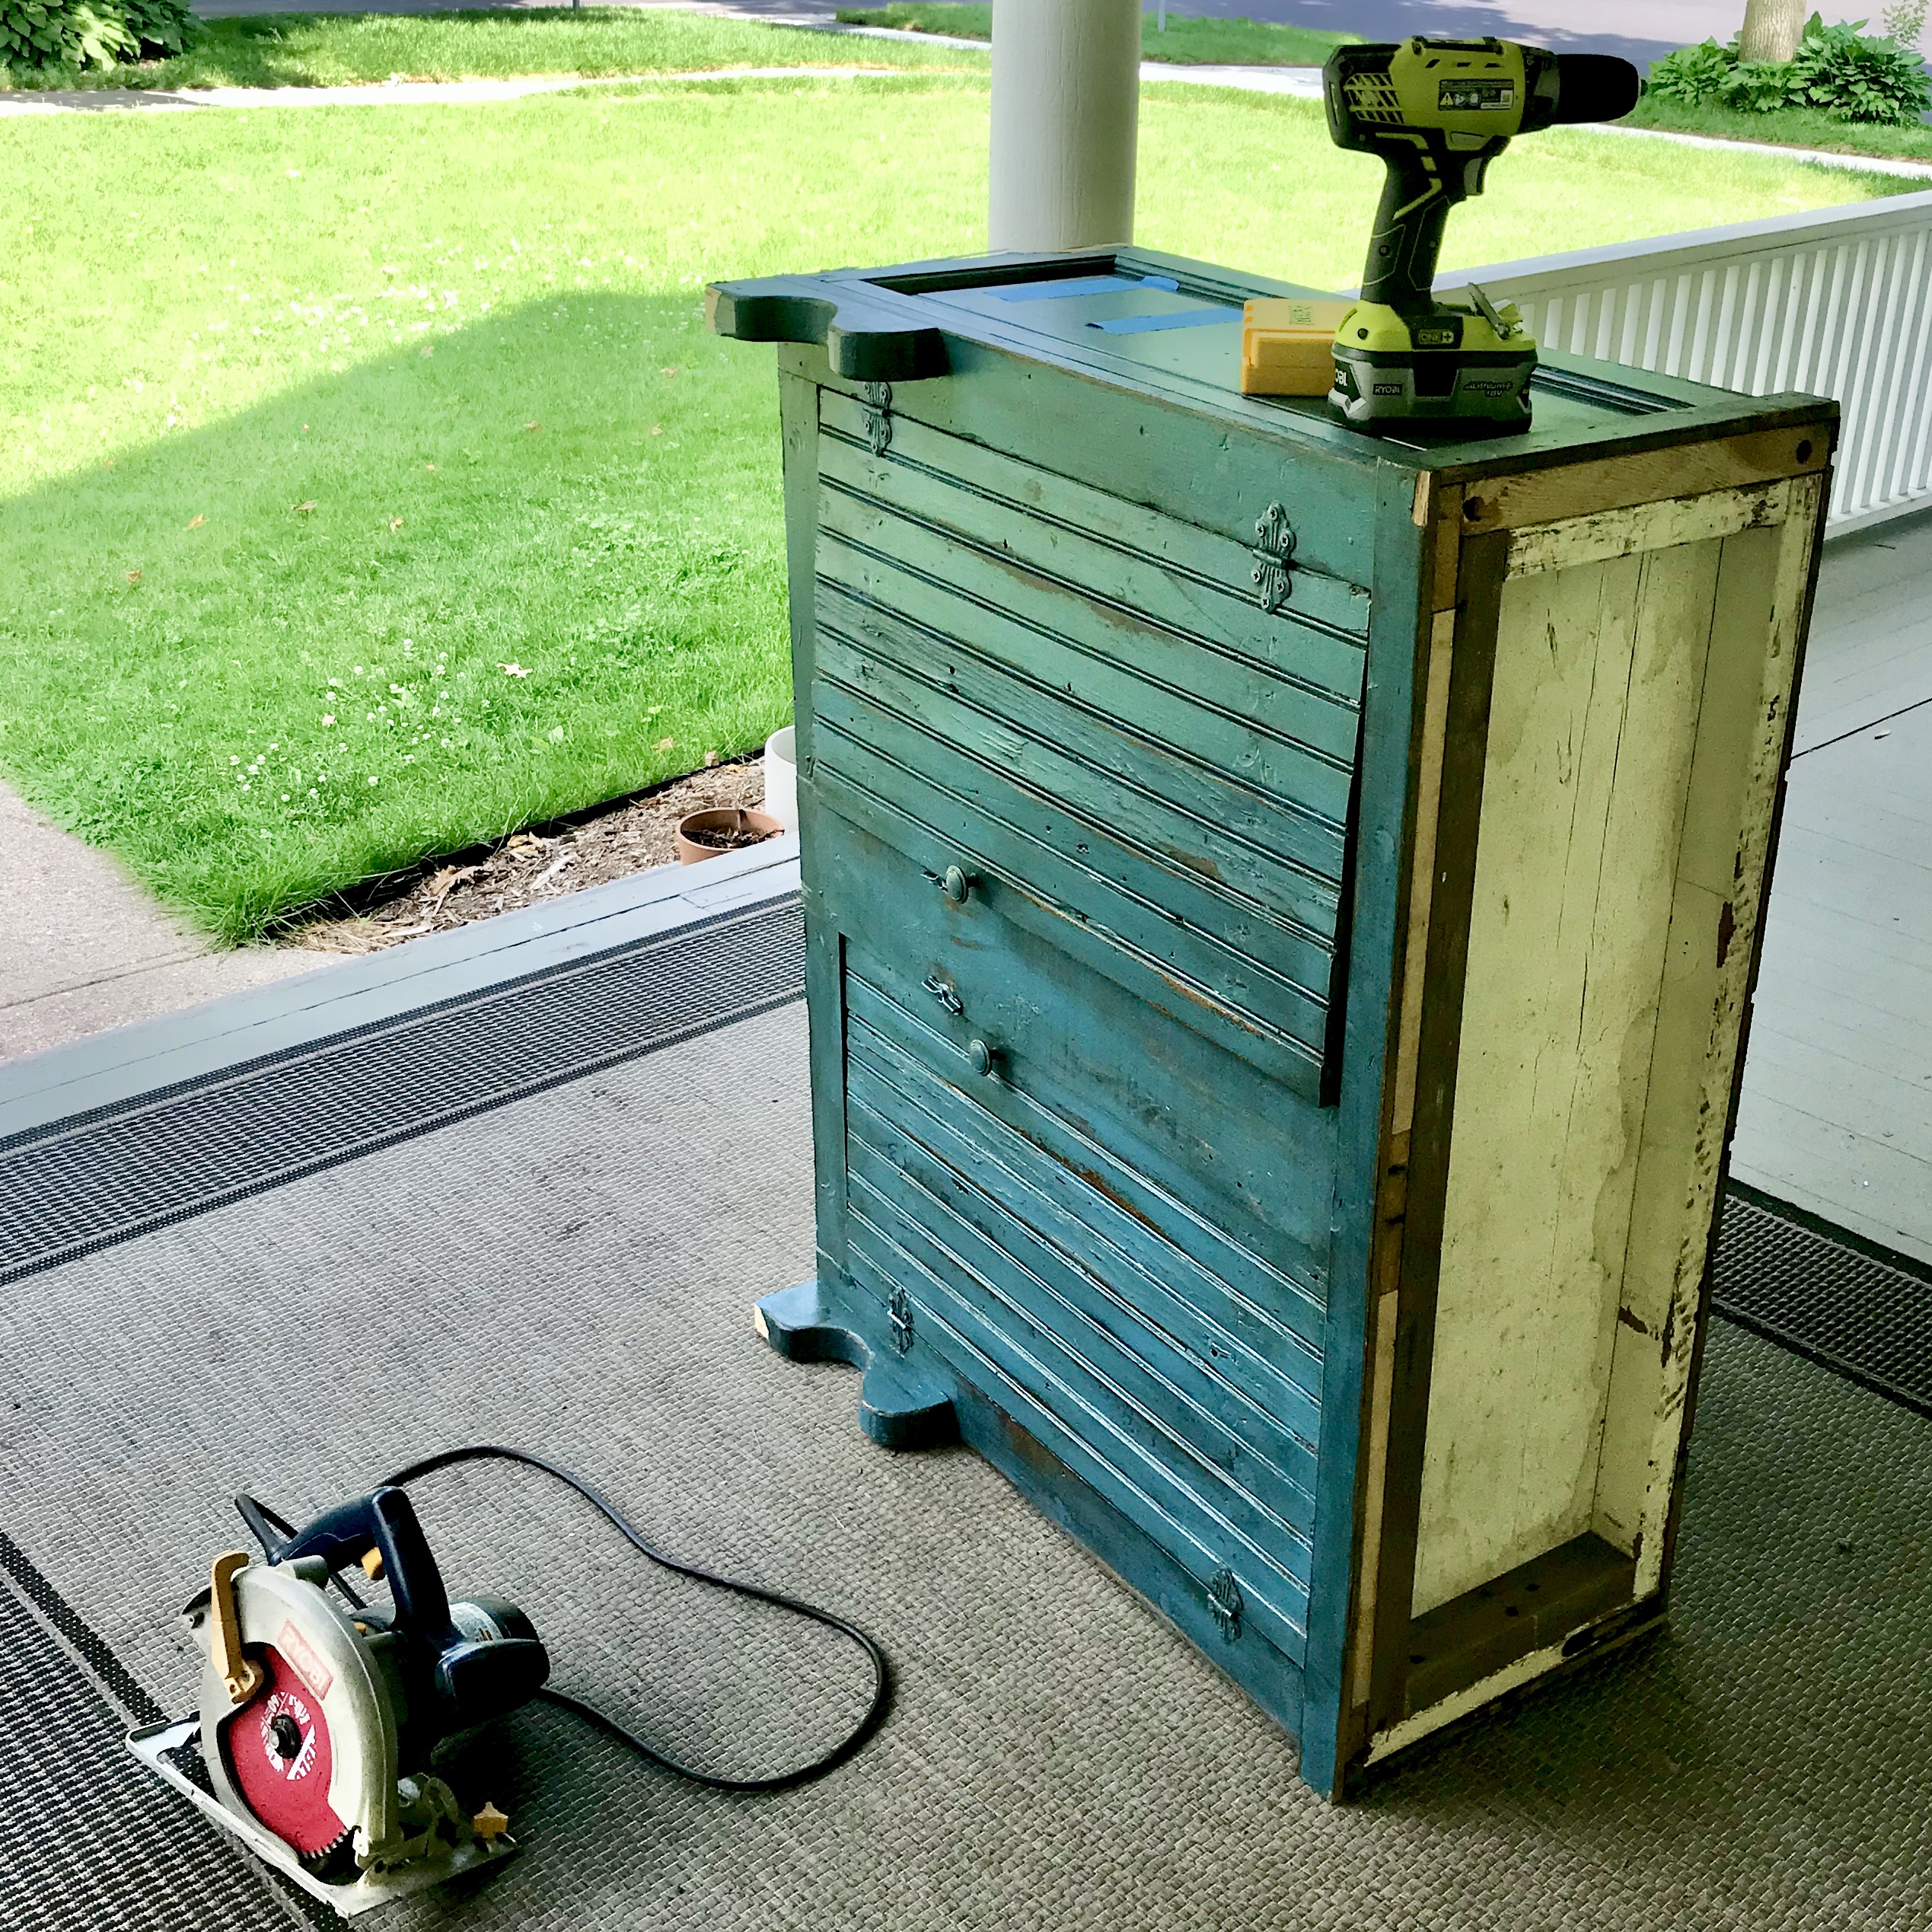
We had to start with a little disassembly of the dry sink. Although we found it through a vendor at an antique mall and it is made of old materials, as we began to take it apart, we realized it was fashioned out of recycled materials: beadboard cabinet doors, pieces of solid paneled doors making up the sides (and scraps supporting the internal structure), and other recycled scraps making up the rest. Knowing this wasn’t an original antique piece had me feeling okay about altering it for our needs. Ultimately, we kept the base and took the full top off—this all went much more smoothly than anticipated.


When it came to a top and sink, we considered looking at stone remnants (and in all honesty didn’t go that route because of laziness—it was just so much work to make it to any of the stone yards) or making our own concrete top. We ended up going the DIY route with a “concrete” top. Rather than pour and cure a full-fledged concrete top, I followed Young House Love’s tutorial and used Henry’s Feather Finish (technically it’s a flooring patch and underlayment, but several reviews mention using it for countertops so my hope is it will work). It was a surprisingly quick and simple project—the hardest part was the prep work.
As I mentioned in my previous post, this project hinged on so much math. After determining the exact size needed for the top and the measurements for the sink cut out, I cut down a plank of 3/4 inch plywood to size. Mr. W and I then cut out the hole for the sink drilling large pilot holes along the template to make it easier to cut out with the jigsaw. I then added a 1 1/2 inch border on the front and sides. I wasn’t going for perfection with the woodworking since everything would be skim coated with the Feather Finish.
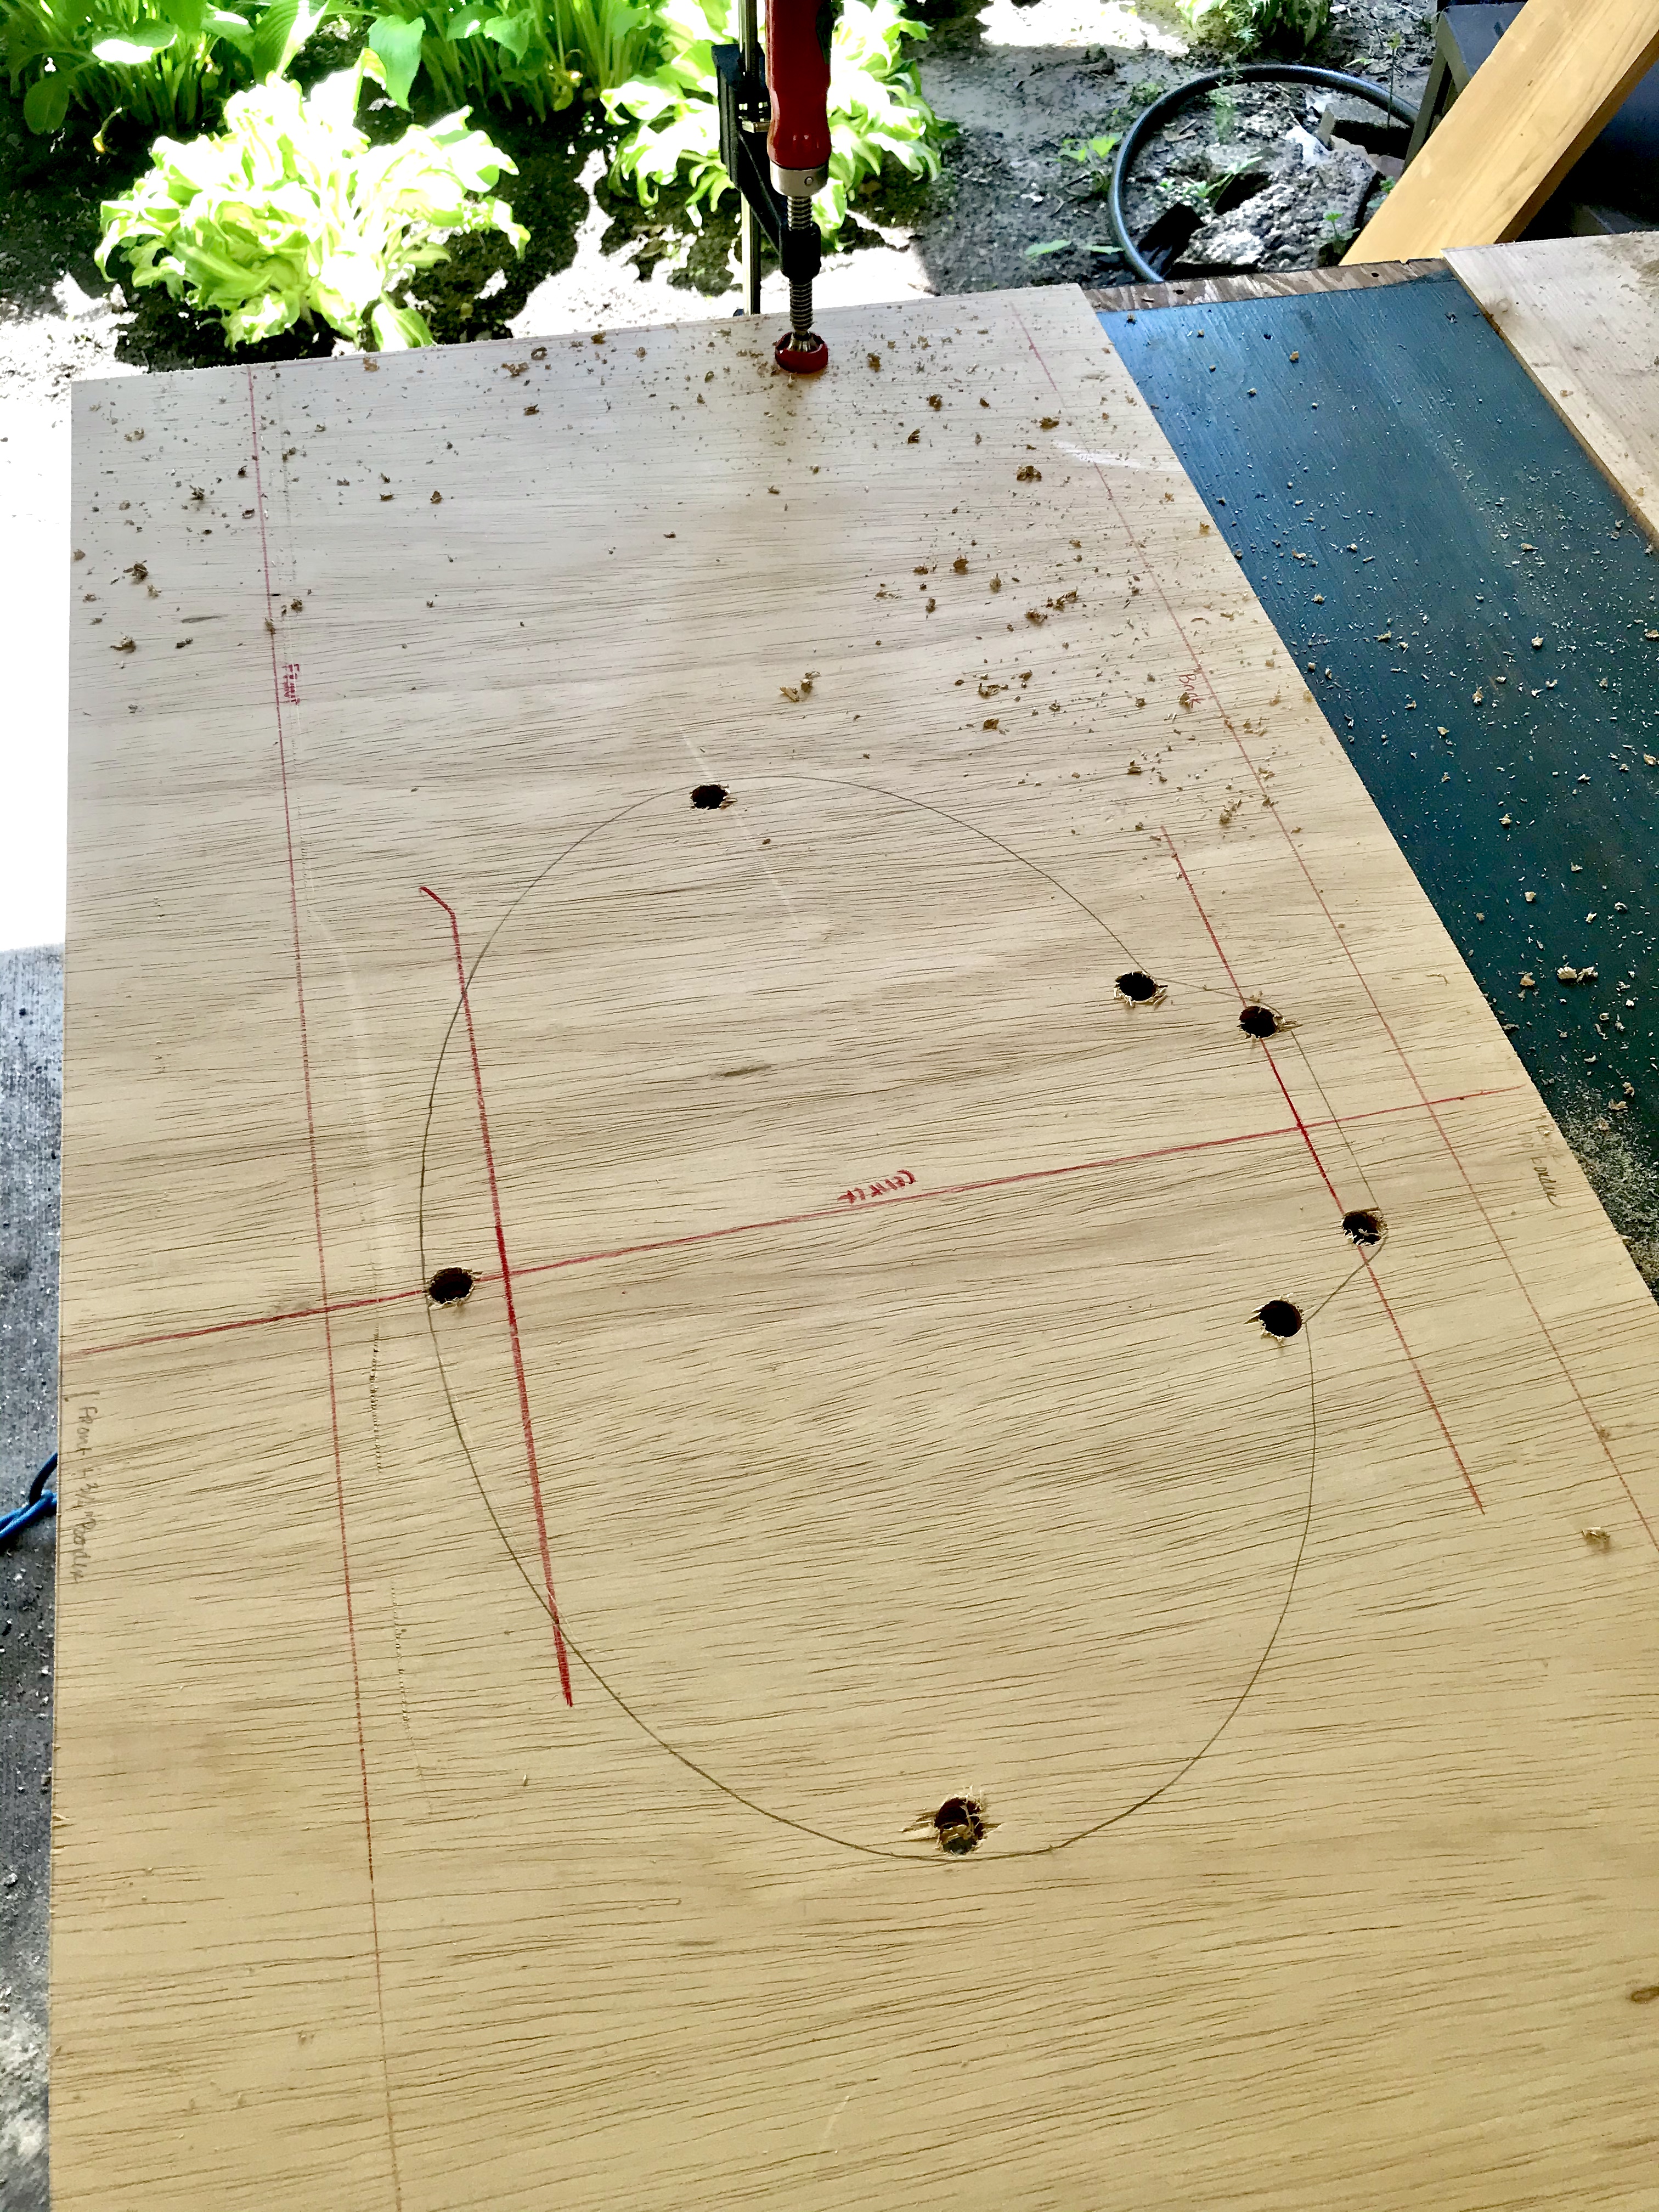


With the top constructed, I applied three layers of feather finish on using the steps Young House Love outlined—sanding between each application (and barely documenting the work…). After the final application I used a 220 grit sandpaper to get a smooth finish. The final step was to put the whole vanity together in the space. With fingers crossed it all fit perfectly and we exhaled a breath we’ve been holding for four years.

With two weeks left to go in the ORC, we are in the home stretch and there is light at the end of this four-year tunnel!


This dresser is so cute!
LikeLiked by 1 person
Thanks, Laura! We thought so too and felt so lucky when we found it!
LikeLike
that vanity is amazing and love that it’s a vintage! that wallpaper and a fun tie-in with the blue accent on the floor!
LikeLike
Thanks, Tim! It’s fun to have a pop of color throughout. I’m loving all the blues!
LikeLike
It’s been so fun following along on this space !
LikeLike
Awwww, thanks, Jenna! I’ve loved following your room, too. And feel like we’re in good company together being a little late to the finish line. 🙂
LikeLike